How to Restore Headlights: A Simple DIY Guide
Over time, headlights can become foggy or oxidized, reducing their clarity and brightness. This not only affects your car's appearance but also poses safety risks by decreasing visibility during night drives. Fortunately, headlight restoration is a straightforward process that you can do yourself with the right tools and steps.

What Causes Headlight Fogging and Oxidation?
Headlights were once made of glass, but modern ones are primarily crafted from polycarbonate, a durable plastic. While strong, it’s more prone to fogging and oxidation due to:
- UV Exposure: Prolonged sun exposure breaks down the protective coating, leading to yellowing.
- Environmental Pollution: Dust, debris, and chemicals in the air accelerate wear.
- Moisture: Humidity and condensation inside or outside the headlights contribute to fogging.
- Temperature Changes: Heat and cold cycles create micro-cracks, worsening oxidation.
- Improper Cleaning: Abrasive tools or harsh chemicals strip away protective layers.
- Aging Protection Layer: The factory-applied UV coating degrades over time.
How to Identify Headlight Issues and Their Causes
Before restoring your headlights, it’s important to diagnose the problem. Here’s how to identify common issues:
1. Surface Fogging or Yellowing
- Appearance: Cloudy or yellowed outer lens.
- Cause: UV damage or dirt buildup.
- Test: Run your fingers over the headlight. A rough surface indicates oxidation, which can be fixed with polishing and sanding.
2. Internal Condensation
- Appearance: Moisture or droplets inside the headlight.
- Cause: Damaged seals or blocked vents.
- Test: Observe if the condensation clears after using the headlights. Persistent fogging requires resealing.
3. Scratches and Cracks
- Appearance: Visible lines or chips on the surface.
- Cause: Physical impacts or improper cleaning.
- Test: Shine a flashlight; cracks will refract light unevenly.
4. Dim or Discolored Light Output
- Appearance: Weak, scattered, or yellowish beams.
- Cause: Oxidation, dirt, or discoloration.
- Test: Compare light beams against a wall; dim or uneven light suggests restoration is needed.
These simple checks can help you determine the cause of headlight issues and choose the right solution.
Essential Tools for Headlight Restoration
For effective DIY headlight restoration, gather the following:
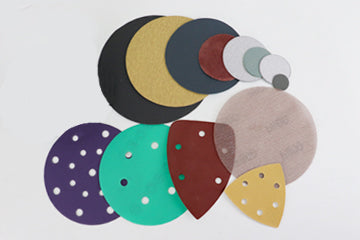
- A headlight restoration kit (includes sandpaper, polish, and UV sealant).
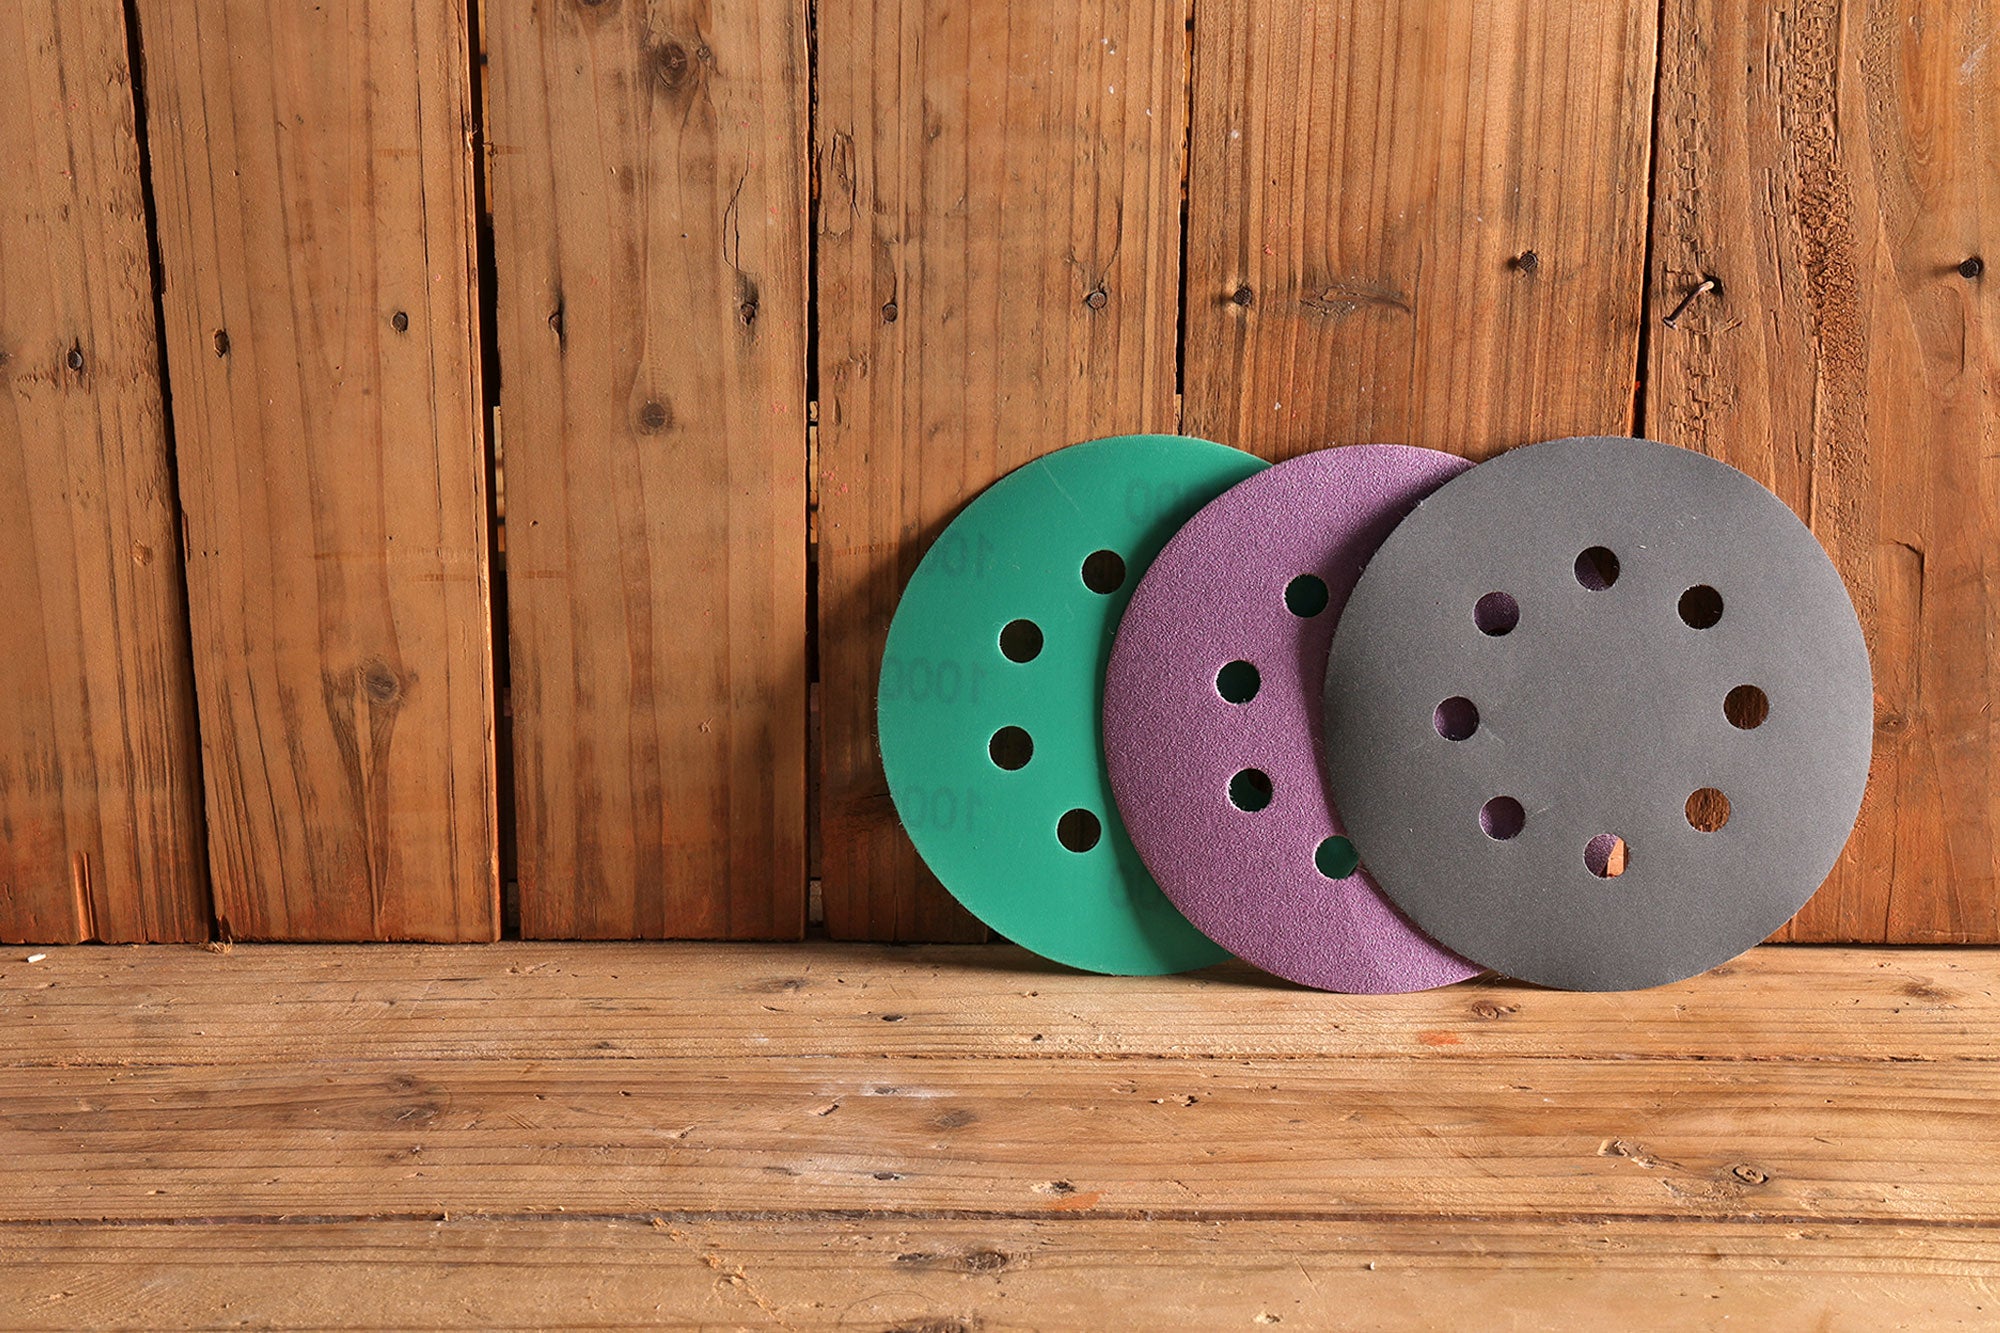
- Sandpaper (ranging from 800 to 3000 grit).
- Polishing compound or toothpaste (as a budget option).
- Microfiber cloths.
- Masking tape.
- Spray bottle with water.

Step-by-Step Headlight Cleaning Process
-
Prepare the Area:
- Thoroughly wash the headlights using soap and water to remove dirt and debris. Dry them with a clean microfiber cloth.
- Apply masking tape around the headlights to protect the car’s paint. Ensure the tape covers all edges where the headlight meets the body of the car.
-
Wet Sand the Surface:
- Fill a spray bottle with water and keep the surface wet throughout the sanding process.
- Start with 800-grit sandpaper for heavy oxidation. Spray both the sandpaper and headlight surface with water. Sand in straight horizontal strokes.
- Move to 1200-grit sandpaper and repeat the process using vertical strokes to remove deeper oxidation marks.
- Finish with 2000- or 3000-grit sandpaper for a smooth finish. Alternate between horizontal and vertical strokes to ensure an even surface. Keep the surface wet at all times to prevent scratching.
-
Polish the Headlights:
- Apply a small amount of polishing compound to the headlight surface.
- Using a clean microfiber cloth or a polishing pad attached to an electric drill, buff the surface in circular motions.
- Continue polishing until the headlight becomes clear and free of any haze. If needed, repeat the process for better results.
-
Apply UV Sealant:
- Wipe the headlight clean with a damp cloth to remove any residue from the polishing process.
- Apply a UV-resistant sealant evenly over the headlight surface using a clean applicator pad.
- Allow the sealant to dry completely as per the product instructions. This step protects the headlights from future UV damage and oxidation.

Quick Alternative Methods to Restore Headlights
- Toothpaste Polish: For mild fogging, apply toothpaste with baking soda to the headlight and buff with a cloth.
- Vinegar and Baking Soda: Mix and use as a natural abrasive cleaner.
- Commercial Kits: Many headlight restoration kits include all necessary materials for a fast, effective DIY solution.
How to Minimize Oxidation After Cleaning
To keep your headlights looking clear:
- Apply a UV-blocking film or clear coat for long-lasting protection.
- Park in shaded areas or use a car cover when possible.
- Clean your headlights regularly using non-abrasive methods.
- Reapply UV sealant every six months to maintain protection.
By following these steps, restoring your headlights is easy, cost-effective, and rewarding. With clear headlights, you'll not only improve your vehicle's appearance but also enhance safety on the road.
We have been supplying abrasive tools for many years. You can visit our store to place an order or contact us for further assistance.
Continue Reading

How to Choose the Right Grit for Your Sanding Discs

