Salta al contenuto

How to Polish Rocks Using Sandpaper or a Cordless Rotary Tool
Polishing stones and rocks is a rewarding hobby that allows you to turn rough, unpolished stones into smooth, shiny treasures. Whether you’re a beginner or looking for an easy way to polish stones at home, this guide will walk you through different methods using sandpaper, a cordless rotary tool, or a rock tumbler kit. We will also discuss the benefits and drawbacks of each method and how to choose the best one for you.
What Sort of Stones and Rocks Can Be Polished?
Not all stones are suitable for polishing. Harder stones, such as quartz, agate, and jasper, are excellent choices because they can withstand the polishing process without crumbling. Softer stones like limestone and sandstone can also be polished but require extra care to avoid excessive wear.
What Size of Stones and Rocks Can Be Polished?
The size of the rock you can polish depends on the method you use. If using sandpaper or a cordless rotary tool, small to medium-sized rocks (under 3 inches) are best because they are easier to handle. Rock tumbler kits can polish larger quantities at once, making them ideal for smaller stones and bulk polishing projects.
What Type of Polish Should Be Used?
For a glossy finish, you can use polishing compounds such as cerium oxide or tin oxide. If you prefer a natural method, rubbing the stone with a denim cloth or leather can also bring out a subtle shine. Commercial rock polishers are available and often provide the best results for achieving a high-gloss finish.
Hand Polishing Rocks with Sandpaper
Benefits:
-
Affordable and requires minimal tools
-
No electricity needed
-
Good for small stones and beginners
Drawbacks:
-
Time-consuming and requires effort
-
Difficult to achieve a high-gloss finish
Steps:
-
Choose Your Stone – Select a hard rock that can withstand sanding.
-
Clean the Rock – Rinse it under water to remove any dirt or debris.
-
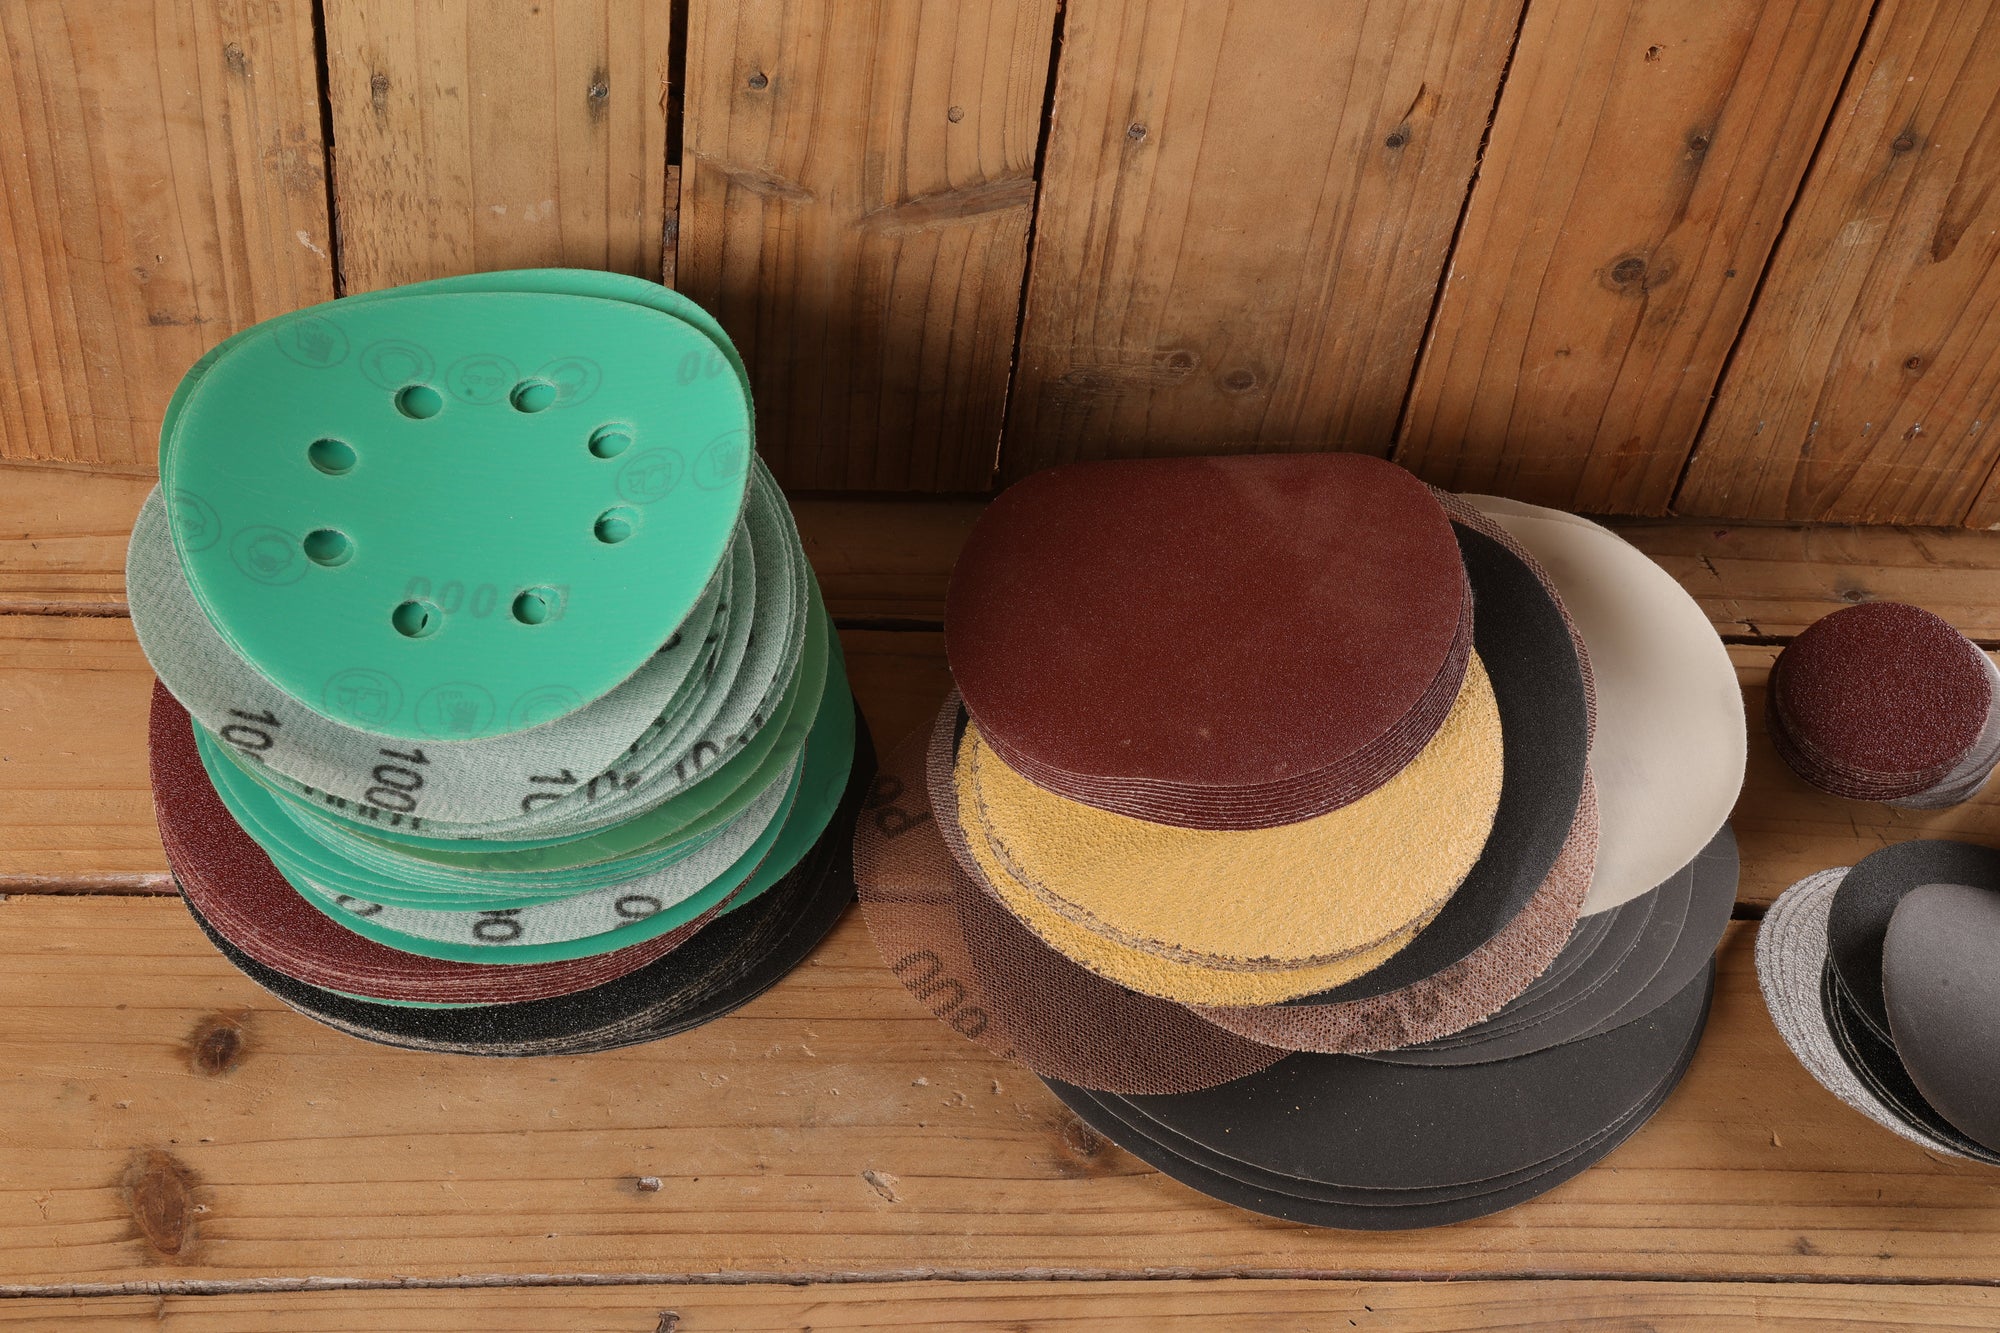
Start with Coarse Sandpaper (80-100 Grit) – Dip the sandpaper in water and sand the rock’s surface in circular motions.
-
Progress to Medium Grit (220-400 Grit) – Continue sanding until the stone’s surface becomes smoother. Keep the sandpaper wet to minimize dust and friction.
-
Use Fine Grit (600-1200 Grit) – This will start giving the stone a polished look. Ensure even sanding across all areas.
-
Final Polishing – Buff the stone with a soft cloth and apply a polishing compound if desired. You can also rub the stone on denim or leather for additional shine.
-
Rinse and Dry – Wash the stone thoroughly and let it dry completely before displaying or storing it.
Polishing Rocks with a Cordless Rotary Tool
Benefits:
-
Faster than hand sanding
-
Easier to achieve a high-gloss finish
-
Good for small and intricate stones
Drawbacks:
-
Requires a cordless rotary tool and accessories
-
Generates dust, so safety precautions are needed
Steps:
-
Select the Right Rock – Choose a small to medium-sized stone that can withstand rotary polishing.
-
Clean the Rock – Wash off any dirt and let it dry.
-
Attach a Sanding Drum to the Rotary Tool – Start with a coarse grit attachment (around 80-100 grit).
-
Begin Sanding – Hold the rock securely and sand the surface using light pressure. Work in circular motions at a low to medium speed.
-
Switch to Finer Grits – Progressively use finer grit sanding discs (220, 400, 600, 1200) until the surface is smooth. Keep the tool at a steady speed to avoid overheating the rock.
-
Final Polish – Attach a polishing wheel to the rotary tool and apply a polishing compound. Buff the surface until the rock shines.
-
Clean the Stone – Wipe off excess polish with a damp cloth and let it dry.
Using a Rock Tumbler Kit: Steps, Pros, and Cons
Benefits:
-
Produces the best results with minimal effort
-
Can polish multiple stones at once
-
Requires little manual labor
Drawbacks:
-
Takes several days to weeks to complete
-
Requires a rock tumbler kit and polishing media
Steps:
-
Select and Sort Your Rocks – Choose rocks of similar hardness to ensure even polishing.
-
Fill the Tumbler Barrel with Rocks – Leave some space for movement.
-
Add Coarse Grit and Water – Follow the manufacturer’s instructions for the correct amount. Seal the barrel and start tumbling for about a week.
-
Rinse and Add Medium Grit – Open the tumbler, rinse the stones, and add a medium grit compound. Let the tumbler run for another week.
-
Repeat with Fine Grit – This step smooths out scratches. Run the tumbler for another week with fine grit.
-
Final Polishing – Use a polishing compound and let the tumbler run for the final shine, usually for another week.
-
Wash and Dry – Rinse the polished stones thoroughly and let them dry before displaying.
How to Choose the Best Polishing Method for You
-
If you are a beginner or working with a limited budget, hand polishing with sandpaper is a great starting point.
-
If you want faster results and have a small number of stones, a cordless rotary tool is a good investment.
-
If you are serious about rock polishing and want the best finish with minimal effort, a rock tumbler kit is the best option.
About Abrasives Master
Abrasives Master specializes in high-quality abrasive tools, including sandpaper and polishing accessories. Whether you need premium sandpaper for hand polishing or durable discs for your cordless rotary tool, we provide reliable products to help you achieve a perfect finish. Explore our selection today and start transforming rough stones into polished gems!
Continue Reading

What Type of Sandpaper Should I Use to Sand Glass?